
If you are looking for information on how to install chain link fence around your yard, there are a few things you will need to do to ensure your fence lasts for years to come. One way to ensure your fence both lasts and looks good is to make sure the fence is level and straight. This can be more difficult on uneven ground, however by following a few steps you can make sure your fence goes up, stays in place, and is level.
What You Will Need
It is best to have all the tools you need on hand before you start a job, if you don’t have certain tools, you may be able to rent them from your local hardware store.
- String
- Line Post Spacing Chart
- Level
- Concrete
- Post Hole Digger and Auger

How to Install Chain Link Fence on Uneven Ground
Once you have checked with your local council or community that you can install chain link fence, and you have the right building permits, these following steps will help you with the basics on how to install chain link fence that is straight and steady.
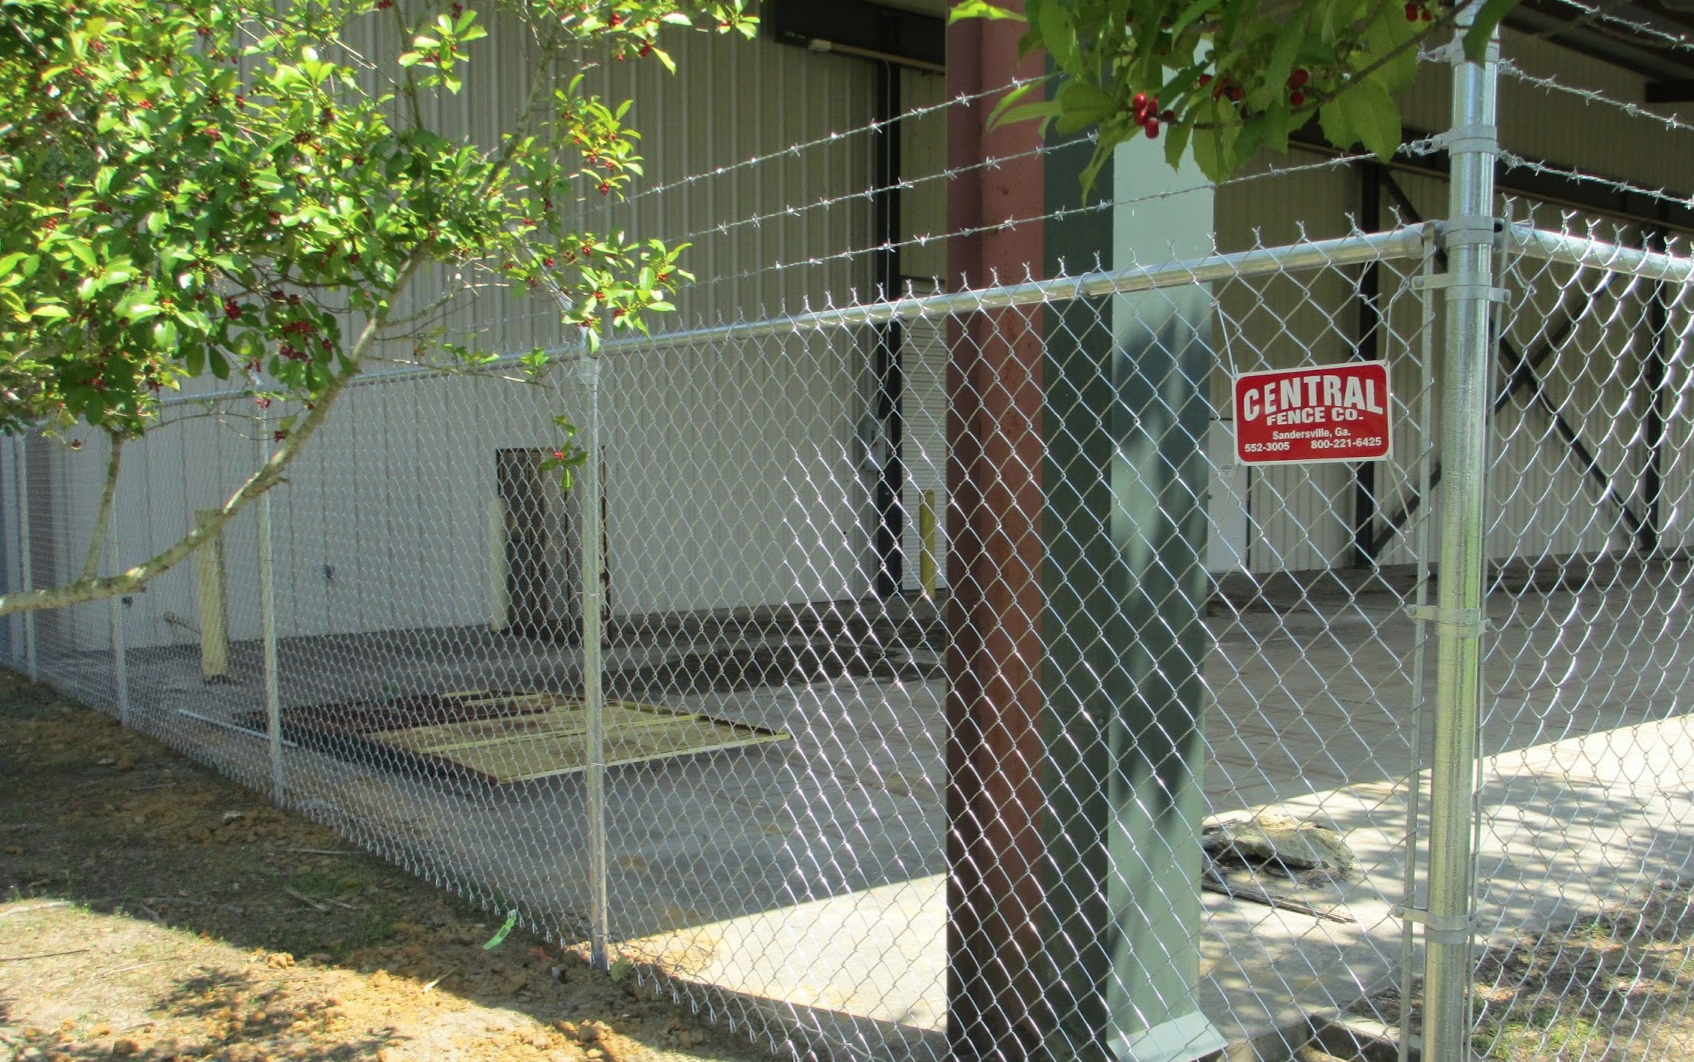
- You will want to take the fence posts that secure the fence and place them on the corners of your property. These posts are called terminal posts and will be thicker than the other posts.
- Use your line post spacing chart to now place the thinner posts, also known as line posts, in the right positions between the terminal posts. The line spacing chart will give you the right measurements to follow.
- Now that your posts are placed in the correct positions, use a hole digger to dig the holes for your fence posts. A 10 inch diameter usually works for all posts, however where you are placing your terminal posts, you will need to have the bottom fan out to 12 inches. When it comes to depth you will need to consider your fence fabric height. Terminal posts will need to be two inches higher than your fences fabric.
- Put your terminal posts into the holes and pour your concrete. Use your level to make sure all poles are straight vertically. Use the string to create a string line that sits around four inches below the terminal posts top. Stretch the string tightly from one post to another. Leave this in place till the concrete hardens.
- Now place the line post holes and pour the concrete, ensuring they are vertically straight using your level. Let the concrete set but not harden all the way.
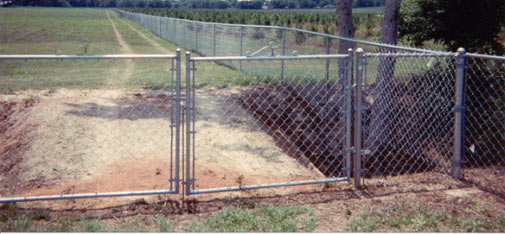
- Raise the line poles up in the places where your property slopes, you want them to be at a height that is even with the top of your string line. Do this with each line post, raising and lowering to make sure they are all even with the string line.
- Attach your fence to the posts. Unroll the fence bit by bit, securing it to the terminal post, then the next line post. Be sure to stretch it tightly before attaching it between each post.
- Continue to complete your fencing by placing cap crowns on each post.
By following these steps and making sure you have moved the terminal posts up and down as needed, you should now have a straight chain link fence. You can see some beautiful examples on our fence gallery page.
Sound intimidating? Let the experts at Central Fence help!